Bake Brilliantly in the Smallest Kitchens

Welcome! Today we dive into Small-Kitchen Baking: Minimal-Tool Recipes for New Cooks, celebrating delicious results from tiny counters, thrifted pans, and everyday utensils. Expect warm guidance, encouraging stories, and practical steps that fit real lives. With mindful prep and patient heat, you’ll transform simple ingredients into fragrant victories, build confidence quickly, and prove that great baking depends more on technique and joy than on square footage or pricey gear.

Make the Most of Every Inch

A compact kitchen can feel generous when every movement earns its keep. Organize vertically, stage ingredients in a simple left‑to‑right flow, and treat a single sheet pan as your portable workstation. Use a large mixing bowl as a stand, a cooling rack, even a salad spinner alternative for washed berries. Keep cleaning supplies within reach so resets take seconds, not minutes, preserving momentum and enthusiasm for your next small but mighty bake.

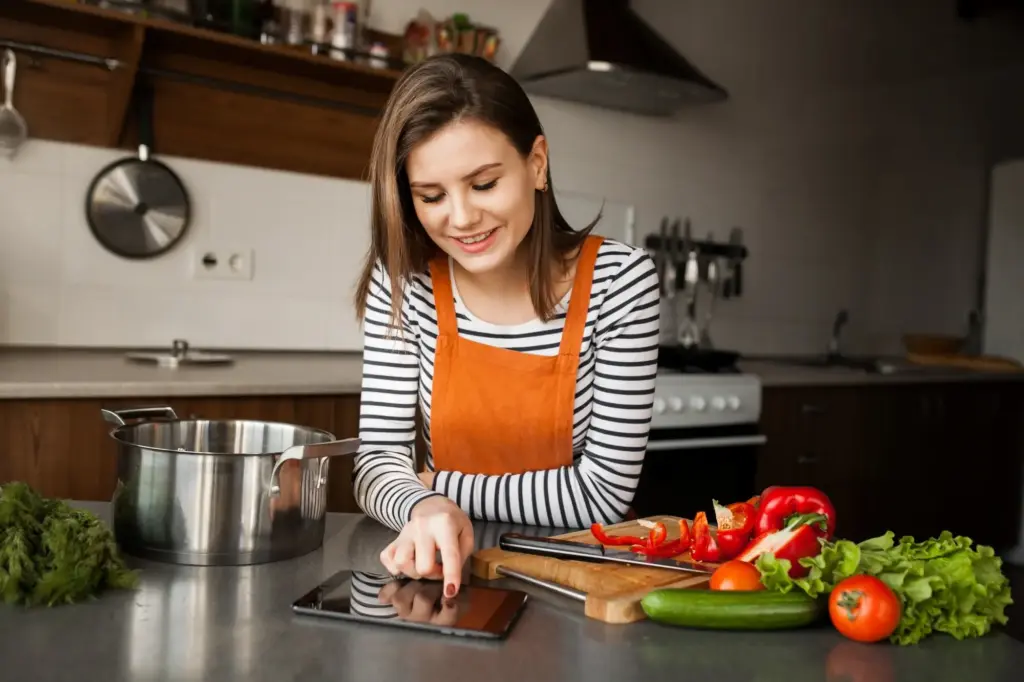
Countertop choreography

Set a rhythm before you crack the first egg. Group dry ingredients in one container, wet in another, line a tray with parchment, and place the trash bowl nearby. Work from clean to messy, then reset between steps. This ritual guards precious inches, prevents spills, and keeps your hands moving confidently, even when a recipe asks for three actions at once in a narrow, bustling space.

A minimalist tool kit that overdelivers

You can bake beautifully with a whisk, sturdy spoon, flexible spatula, one large metal bowl, measuring cup, measuring spoons, a rimmed sheet pan, and a small loaf tin or skillet. Add an inexpensive oven thermometer and silicone parchment mats if possible. These few pieces cover muffins, quick breads, cookies, brownies, biscuits, and cobblers, while nesting together so storage is effortless and your counter remains calm.

Small heat, big results

Toaster ovens, air fryers, and lidded skillets can mimic full ovens when handled thoughtfully. Preheat longer than you think, rotate halfway through, shield edges with a little foil, and trap steam with a lid for taller rises. My neighbor Lina baked cornbread on one burner for weeks during a renovation, discovering that preheating the skillet gave crisp edges without scorching.

Master Techniques Without a Mixer

Creaming and folding by hand

Soften butter slightly or use neutral oil, then mash sugar into it with the back of a sturdy spoon until pale and fluffy. That friction builds tiny air pockets for lift. When combining dry ingredients, switch to folding: cut down through the center, sweep along the curve, and turn the bowl, repeating until streaks fade. This protects tenderness without demanding special tools.

Gluten control in tight quarters

Overmixing happens fast when you chase every lump. Instead, whisk dry ingredients thoroughly first, then add wet and stir just until combined. Let batter rest five to ten minutes to hydrate flour and smooth small clumps naturally. For biscuits and scones, handle dough minimally and keep fat cold. These calm, intentional motions prevent toughness and help bakes rise evenly in compact, hotter appliances.

Temperature and time cues you can trust

Small ovens run hot and cook edges faster. Trust signs over strict minutes: golden color at the rim, springy centers, and aromas that bloom from sweet to toasty. Use a toothpick to check for moist crumbs, not wet batter. Preheat fully, avoid crowding pans, and cool briefly in the pan before moving to a rack to set crumb and prevent collapse.

Beginner Bakes That Fit One Bowl

Start with recipes that deliver huge flavor from minimal gear and cleanup. One bowl, one spoon, one pan, and you’re underway. These favorites scale down gracefully, tolerate tiny temperature quirks, and reward patience with irresistible textures. Each is forgiving, fast, and friendly to the realities of studio apartments, dorm rooms, or shared kitchens where counter space, outlets, and quiet mornings are precious commodities worth protecting.

Smart Ingredients, Substitutions, and Storage

Lean into a pantry that multitasks. Choose all‑purpose flour, brown and white sugar, baking powder, baking soda, fine salt, neutral oil, vanilla, cinnamon, and shelf‑stable milk. These basics cover countless bakes without crowding shelves. Rotate purchases in small packages, date containers clearly, and store nuts, chocolate, and whole grains in the coldest corner. You’ll reduce waste, save money, and bake more often because everything stays fresh and ready.

Multipurpose pantry core

All‑purpose flour bridges cookies, biscuits, and quick breads. Brown sugar deepens flavor; white sugar lightens texture. Neutral oil simplifies mixing, while baking powder and soda deliver lift. Keep salt for balance, vanilla for aroma, cinnamon for warmth. Add cocoa and oats when space allows, because they transform basic batters into impressive treats without demanding extra tools or complicated steps on an already crowded countertop.

Swap with confidence when supplies run low

No eggs? Use yogurt, mashed banana, or flax gel for moisture and binding. Out of butter? Neutral oil keeps crumbs tender and mixing easy. Only plant milk available? Great—use the same amount. For cake flour, remove two tablespoons of all‑purpose per cup and replace with cornstarch. These smart, flexible moves maintain structure and flavor, proving creativity is as powerful as any appliance.

Small‑fridge strategy that keeps bakes coming

Mix once, bake twice. Portion cookie dough into balls and freeze on a tray, then bag. Label with date and baking cues. For quick breads, refrigerate batter up to twenty‑four hours to develop flavor and simplify mornings. Store nuts and chocolate in sealed jars to prevent absorbing odors. These tidy habits stretch ingredients, protect freshness, and give you instant, oven‑ready comfort on busy nights.

Troubleshooting in Tiny Spaces

Compact gear can magnify little mistakes, but steady fixes bring beautiful results. Work cooler and slower when edges brown fast, add parchment to encourage even color, and resist opening the door too often. Measure with care, rest batters strategically, and trust sensory cues. With each adjustment, your confidence grows, transforming frustration into skill and turning any corner of your home into a reliable, cheerful baking nook.

Prevent dense, gummy crumbs

Weigh or level flour carefully, keep liquid ingredients at room temperature, and stir only until streaks disappear. Let quick‑bread batters rest briefly so starches hydrate. If using oil, aerate with vigorous whisking before adding dry ingredients. Bake thoroughly but gently, checking for moist crumbs, not batter. A ten‑minute cool in the pan finishes setting structure so slices hold together without becoming heavy.

Tame hot spots and scorched edges

Small ovens can blast heat unevenly. Place pans on the center rack, rotate halfway, and shield aggressive edges with a collar of foil. Bake on a light‑colored sheet to reduce dark bottoms. Preheat longer than usual, then reduce temperature slightly for steadier heat. An inexpensive thermometer reveals the truth inside, helping you calibrate expectations and avoid disappointment on delicate, sugar‑rich batters.

Humidity, altitude, and other quirky variables

Sticky days soften flour and slow browning; add a spoon of flour or extend the bake briefly. At higher altitudes, reduce leaveners slightly and increase liquids to maintain structure. Keep an observational journal noting appliance behavior, pan sizes, and outcomes. These small records pay big dividends, quickly translating unusual conditions into repeatable, celebrated success with far less guesswork and far more confidence.

Confidence, Community, and Next Steps

Growth accelerates when you share wins, ask questions, and repeat small victories. Celebrate every loaf, even lopsided ones, because flavor teaches faster than perfection. Invite friends to taste‑test, trade ingredients with neighbors, and subscribe for new ideas. Comment with your hurdles so we can troubleshoot together, and post photos of your proud crumbs. Your tiny kitchen can become a generous classroom filled with encouragement and delicious proof.

Share your first win with us

Was it a steaming skillet biscuit or a glossy mug brownie after midnight? Tell us how it smelled, how it tasted, and what you changed. Post a quick photo, mention your appliance and pan size, and ask for ideas. Your story might guide another nervous beginner toward their first confident, joyfully messy bake on the smallest possible countertop.

A four‑week tiny‑bake practice plan

Week one: organize tools and bake a mug treat. Week two: master one‑bowl quick bread. Week three: explore skillet biscuits or cobbler. Week four: repeat your favorite and tweak sweetness, spice, or pan shape. Keep notes, compare crumbs, and celebrate improvements. The plan fits busy schedules, builds muscle memory, and turns occasional experiments into a reliable habit that tastes like progress.

Clean as you create, then relax

Adopt a ten‑minute reset: soak the whisk and bowl immediately, wipe surfaces while the bake rests, and stack tools in order of washing. Keep a dedicated towel for hot handles and splatters. This calm routine protects space, speeds cleanup, and preserves your excitement for trying the next recipe tomorrow, not someday, because your kitchen ends tidy, friendly, and ready.
Ravolaxixari
Privacy Overview

This website uses cookies so that we can provide you with the best user experience possible. Cookie information is stored in your browser and performs functions such as recognising you when you return to our website and helping our team to understand which sections of the website you find most interesting and useful.